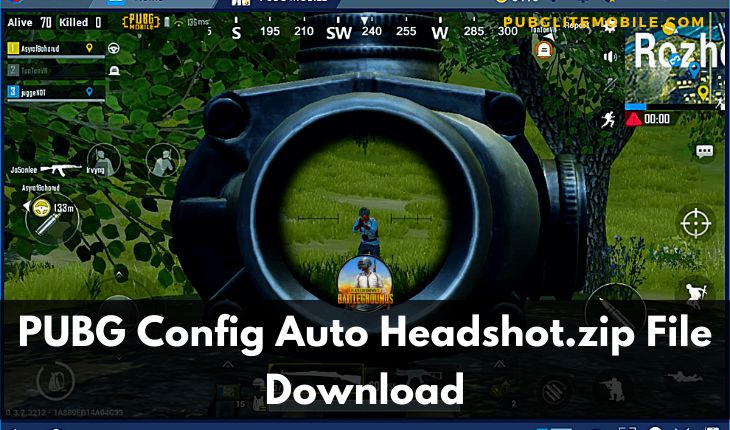
Are you looking for a pubg config auto headshot file download? Then you have come to the right place. In this article, we will provide you with a link to download the file. This file is a must-have for any PUBG player looking to up their game and gets those all-important headshots.
Are you a fan of the popular battle royale game, PUBG? If so, then you’re in for a treat! We’ve got a special config file that you can download that will allow you to get headshots automatically in the game! We all know that pubg is a very popular game. And, with the popularity of the game, there are also many players who want to download the config file for auto headshot. So, if you are one of those players who are looking for the file, then you can get it from the link given below.
Click Here to Download Config File
How to download the PUBG Config Auto Headshot.zip File?
The first step is to head to the website where the file is located. We’ll be using the site pubglitemobile.com for this example.
Once you’re on the site, simply scroll down to the section labeled “Downloads” and click on the link for the pubg config auto headshot.zip file.
How to install the PUBG Config Auto Headshot.zip?
Once the file has been downloaded, the next step is to install it. This is a pretty simple process, but we’ll go over it anyway just to be sure.
- Once you have downloaded the file, you will need to extract it. For that, you will need a zip extractor. Once you have extracted the file, you will need to paste it into the pubg folder. This is usually located at “C:\Program Files (x86)\Steam\steamapps\common\PUBG”.
- Once you’re in the PUBG directory, open the “Config” folder. Inside this folder, you’ll see a bunch of files with the “.ini” extension.
- The file you just downloaded, “pubg_config_auto_headshot.ini”, needs to be placed in this “Config” folder. Simply drag and drop it into the folder, and you’re all set!
- After that, you will need to launch the game and go to the settings. In the settings, you will need to go to the “other” tab. Under the “other” tab, you will need to find the “exec” command.
- Once you have found the “exec” command, you will need to type in the following command “exec autoheadshot”. After that, you will need to hit the “enter” key.
- That’s it. Now, you will have the config file for auto headshot in your game.
How to use the PUBG Config Auto Headshot.zip File?
You must be aware of the PUBG Config Auto Headshot.zip file and its amazing features. This file is a very useful tool for PUBG players. It allows them to automatically headshot their opponents. Here, we will show you how to use the PUBG Config Auto Headshot.zip file.
The PUBG Config Auto Headshot.zip file is a tool that allows you to automatically headshots your opponents. To use this file, you need to have a PUBG account. Once you have a PUBG account, you need to download the PUBG Config Auto Headshot.zip file. After downloading the file, you need to unzip it.
Method #1:
- After unzipping the file, you will see two files inside it. One is the PUBG Config Auto Headshot.cfg file and the other is the PUBG Config Auto Headshot.exe file. You need to run the PUBG Config Auto Headshot.exe file. This will open a window where you need to select the game mode.
- After selecting the game mode, you need to select the map. After selecting the map, you will see the option to select the number of players. You need to select the number of players according to the game mode you have selected. After selecting the number of players, you will see the option to select the server.
- After selecting the server, you will see the option to select the game type. You need to select the game type according to the game mode you have selected. After selecting the game type, you will see the option to select the match time. You need to select the match time according to the game mode you have selected.
- After selecting the match time, you will see the option to start the game. You need to click on the “Start” button. After clicking on the “Start” button, the game will start.
Method #2:
- To use the PUBG Config Auto Headshot.zip file, you first need to download it. Once it’s downloaded, you need to extract the files to a folder on your computer.
- Once the files are extracted, you need to open the PUBG game and head to the settings menu. From there, head to the “Other” tab and scroll down to the “Config files” section.
- Click on the “Browse” button and navigate to the folder where you extracted the files. Select the “pubgconfig.cfg” file and click “Open”.
- The file will be added to the game and you’re ready to go!
- To use the file, you need to make sure you’re using a sniper rifle. Then, all you need to do is aim at an enemy and the file will automatically aim for the head for you.
- This can be a great way to get some easy kills and improve your game. However, it’s important to note that using this file will likely get you banned from some servers.
Conclusion:
That’s all there is to it! With the pubg config auto headshot.zip file installed, you’ll be head shotting your way to victory in no time. So, if you’re looking for a way to improve your aim in PUBG, the PUBG Config Auto Headshot.zip file can be a great option. Just be sure to use it at your own risk!


Clare